Discover the fun of baking with our guide on how to make solar system cookies! Create delicious, planet-themed treats that are out of this world!

My kids absolutely love learning about the solar system for homeschool science. I don’t know what it is about it, but every time we spend any length of time on it, they are just so engaged. When we did The Kind Kingdom curriculum back in 2023, we made solar system sugar cookies. My boys absolutely adored this project. It was easy and inexpensive, so I wanted to share it here.
Gather Your Supplies:
- 2 Rolls of refrigerated sugar cookie dough (or make your own from scratch)
- 2 tubs of white frosting
- Food coloring
- 4 small bowls
- Spoons
- Baking sheets
- Baking mats
- Image of the planets
- Circle cookie cutters or different size glasses
- Zip lock bag to pipe frosting for Saturn

Solar System Cookie Directions
Preheat the oven to the temperature listed on the cookie dough wrapper.
Shaping the Solar System Cookies
Shape the dough into planets and the sun. We used different size glasses to get the different shapes. Cookie cutters will work too. The solar system will obviously not be to scale, but we tried to make some planets smaller than others. The sun should be the largest cookie by far.
The cookie dough will spread while it bakes, so make sure there is plenty of space between them. I didn’t think about that and ours pressed together.
Bake your Solar System Cookies
Pop the cookies in the oven. The cookies will vary in size, so ignore the baking time and just watch the cookies closely. Stay in the kitchen!
The smaller cookies will finish first, so just take those out and put them on a cooling rack while the larger cookies continue baking.
Let the baked cookies cool.
Mixing the Frosting for your Solar System Cookies
Put some white frosting into a small bowl. Add a few drops of frosting until you achieve the color you’re after. You can always marble the frosting using a toothpick, but I wanted my boys to do this project independently, so I let them look at the images on the sheet and try to match the colors on their own. Repeat this step until you have all the colors for the sun and planets.
Decorating your Solar System Cookies
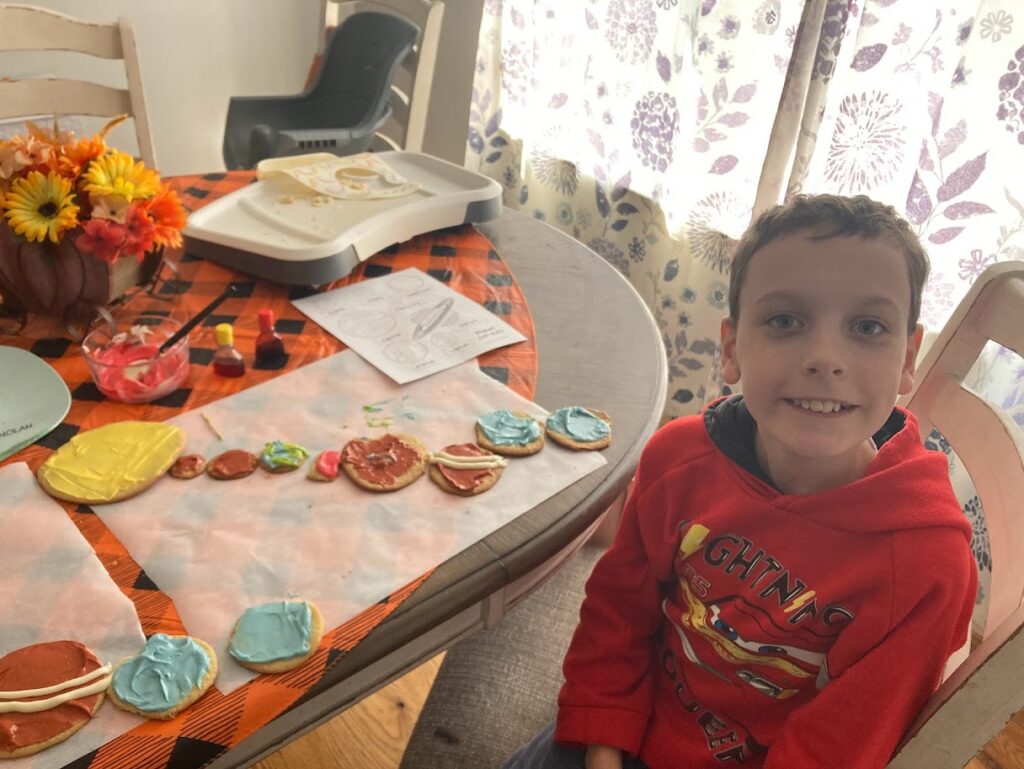
Once you have your frosting mixed, you can now decorate the sun and each planet. We set each one in order based on size. Once we had them set by size, they went to work on each planet.
We also used a small ziplock bag to pipe some white frosting for Saturn. We just added a small amount to a bag and cut one corner tip off.
Enjoy your Solar System Cookies
After we finished, we took a few pictures and then they got to share and enjoy their solar system cookies. They really loved this project. They are both getting older and enjoying learning new skills like baking, so it was nice to be able to incorporate that. We always try to incorporate hands-on learning and projects in our homeschool. It was also great that they are both old enough to complete some of these projects independently and I can help here and there.

How to Make Solar System Cookies
Materials
- 2 rolls refrigerated sugar cookie dough (or make your own from scratch)
- 2 tubs white frosting
- Food coloring
- 4 small bowls
- spoons
- baking sheets
- Baking mats
- Image of the planets
- Circle cookie cutters or different size glasses
- Zip lock bag to pipe frosting for Saturn
Instructions
- Preheat the oven to the temperature listed on the cookie dough wrapper.
Shaping the Solar System Cookies
- Shape the dough into planets and the sun. We used different size glasses to get the different shapes. Cookie cutters will work too. The solar system will obviously not be to scale, but we tried to make some planets smaller than others. The sun should be the largest cookie by far.
- The cookie dough will spread while it bakes, so make sure there is plenty of space between them. I didn’t think about that and ours pressed together.
Bake your Solar System Cookies
- Pop the cookies in the oven. The cookies will vary in size, so ignore the baking time and just watch the cookies closely. Stay in the kitchen!
- The smaller cookies will finish first, so just take those out and put them on a cooling rack while the larger cookies continue baking.
- Let the baked cookies cool.
Mixing the Frosting for your Solar System Cookies
- Put some white frosting into a small bowl. Add a few drops of frosting until you achieve the color you’re after. You can always marble the frosting using a toothpick, but I wanted my boys to do this project independently, so I let them look at the images on the sheet and try to match the colors on their own. Repeat this step until you have all the colors for the sun and planets.
Decorating your Solar System Cookies
- Once you have your frosting mixed, you can now decorate the sun and each planet. We set each one in order based on size. Once we had them set by size, they went to work on each planet.
- We also used a small ziplock bag to pipe some white frosting for Saturn. We just added a small amount to a bag and cut one corner tip off.
Solar System Books we Enjoyed


Want more homeschool science?
The Best Homeschool Science Curriculum and Resources We Love
Bird Activities and Crafts for Homeschoolers
The Best Homeschool Science Experiments for Young Scientists